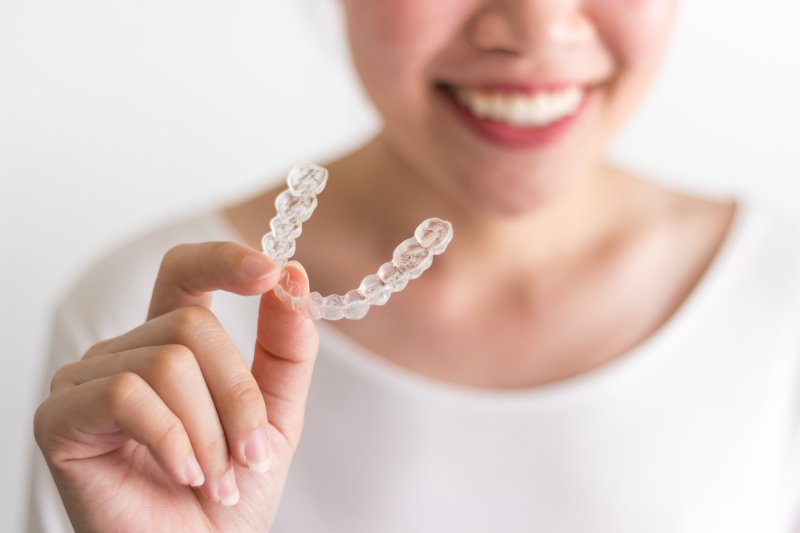
Braces are a great way to correct bite and alignment issues, but many people prefer using Invisalign. This is because these trays work in a similar way but are virtually invisible. Invisalign is also removable, which means that you can’t eat almost anything without issue. This also makes it easier to properly clean your teeth. If you’re thinking about undergoing this procedure, read on to learn the step-by-step Invisalign treatment process.
Step #1: Your Initial Consultation
The first part of the Invisalign treatment process is to attend an initial consultation. During this visit, you and your orthodontist will go over what goals you want to achieve. They will perform an examination of your oral cavity as well as take X-rays to determine if Invisalign is the right treatment for you. Additionally, patients who have gum disease, tooth infections, cavities, or other oral health issues will need to have them treated.
Step #2: Planning Your Invisalign Treatment
The next step in the Invisalign treatment process will be to work with your orthodontist to create a custom plan and determine how long it will take for you to achieve your desired results. Additionally, your orthodontist will take impressions of your pearly whites so that they can send them off to have your trays made. This will ensure that they perfectly fit your smile. Each set of Invisalign trays will need to be worn for one or two weeks before it’s time to move on to the next one.
Step #3: Getting Your Aligners
Your orthodontist will have you schedule an appointment to come back into their office once your custom aligner trays have been made. This will give you a chance to try on your first set. They’ll show you the best way to handle your aligners as well as how to properly clean them. If your aligners don’t fit as intended, they will make any necessary adjustments to ensure that your aligners fit you properly. You should also use this time to ask your orthodontist any questions you have about treatment.
Step #4: Wearing Your Aligners
Invisalign is removable, but that doesn’t mean that you can take it off whenever you want. These aligner trays need to be worn for 20-22 hours per day to be as effective as possible. Planning out meals ahead of time will ensure that you have enough time to eat as well as brush and floss afterward.
Step #5: Periodic Checkups
After you’ve started your Invisalign treatment, you might think your dentist’s job is done. Periodic visits are a key part of the Invisalign treatment process. This allows your dentist to monitor your progress. They will also be able to identify any potential issues and make the necessary adjustments.
Step #6: Finishing Treatment & Your Retainer
Completing the Invisalign treatment process isn’t the end of the line. Even after you’ve made it through your last set of aligners, you will still need to wear retainers. These will keep your teeth from shifting back to their previous position.
The Invisalign treatment process may sound complex, but it’s actually pretty straightforward. With a good orthodontic team, you’ll be on your way to a beautiful smile in no time!
About the Practice
Hampton Roads Center for Cosmetic Dentistry gives patients a pleasant, comfortable dental experience from the time they enter their office. For those looking to improve the look of their smiles by closing gaps and correcting bite issues, they offer Invisalign clear aligners. They can go over the Invisalign treatment process with you so you understand what it takes to reach your dream beam. Call Hampton Roads Center for Cosmetic Dentistry at (757) 412-1400 or visit their website to make an appointment or for more information.
